British Ordnance Collectors Network
You are using an out of date browser. It may not display this or other websites correctly.
You should upgrade or use an alternative browser.
You should upgrade or use an alternative browser.
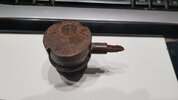
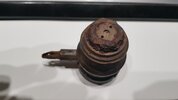
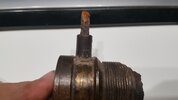
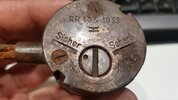
Cleaning and attempted restoration of a FUZE T.Mi.Z. 35
- Thread starter chispa
- Start date
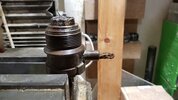
We continue.... now it's time for the body, which cost me much more to disassemble, I had a tool at home that I made for another () that I dismantled but I took it to town and I had to improvise....
Also due to the rust it had, the brass piece was very tight to the iron one, it also had its sessions of fire and cold water to try to break the rust after several sessions in the spa I managed to dismantle it...
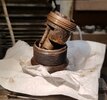
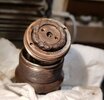
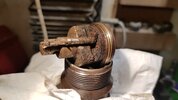
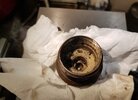
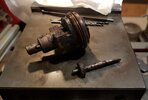
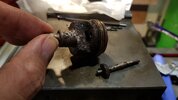
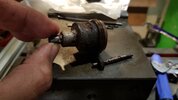
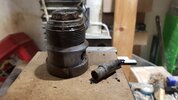
Releasing the last pieces of the main body...
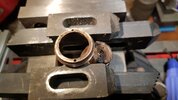
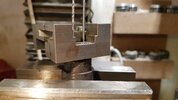
This is one of the improvised "tools"...
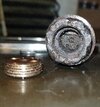
Also due to the rust it had, the brass piece was very tight to the iron one, it also had its sessions of fire and cold water to try to break the rust after several sessions in the spa I managed to dismantle it...


Releasing the last pieces of the main body...

This is one of the improvised "tools"...


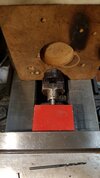
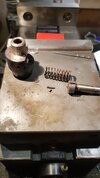
Well... now it's time for the firing pin, I put it in the jaw and pressed so that it would cut the iron bar that holds it, because of so much rubbish that was inside it, the spring did nothing (it's beautiful!!)
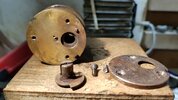
And now to the cover... of the three screws I have only been able to "save" one, the other two I have removed.
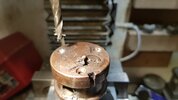
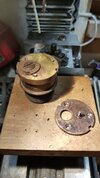
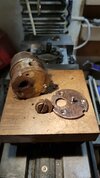
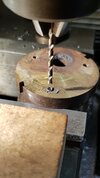
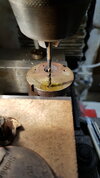
As always, there is some screw that resists.... nothing marked the center with a pointer, I proceed to make a hole with a centering bit, then a 1.5mm drill bit, another 2.5mm drill bit I think I remember... and finally I passed the thread tap to clean the thread.
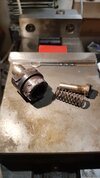
the spring after handing him a piece of paper...
Well, all this is what I have done until today...
All the best!!


And now to the cover... of the three screws I have only been able to "save" one, the other two I have removed.


As always, there is some screw that resists.... nothing marked the center with a pointer, I proceed to make a hole with a centering bit, then a 1.5mm drill bit, another 2.5mm drill bit I think I remember... and finally I passed the thread tap to clean the thread.


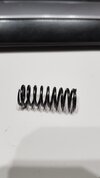
the spring after handing him a piece of paper...

Well, all this is what I have done until today...
All the best!!
We continue... after spending a night in oxalic acid this is how it turned out...
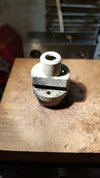
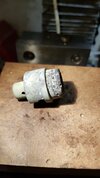
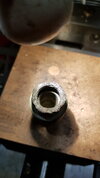
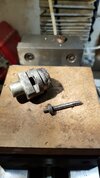
The firing pin, cap and selector require little cleaning.
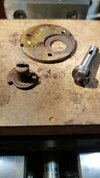
All parts missing:
Selector spring (it was missing, I guess it was part of the rust...).
Rubber seal, from the selector (it was missing).
Rubber safety pin (it was missing).
Safety pin pull (it was missing).
Two of the three screws on the cover (they are the ones I broke to remove)
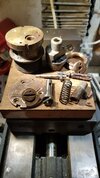
Well... well, it's more or less clean, what I'm most interested in is cleaning all the iron parts, I'm going to leave the brass like this without cleaning it.
So I consider the piece cleaned and now it's time to look for springs, make joints, screws, safety pin pulland. What I have doubts about is whether to make the safety pin or leave it as is...
A greeting!!


The firing pin, cap and selector require little cleaning.

All parts missing:
Selector spring (it was missing, I guess it was part of the rust...).
Rubber seal, from the selector (it was missing).
Rubber safety pin (it was missing).
Safety pin pull (it was missing).
Two of the three screws on the cover (they are the ones I broke to remove)

Well... well, it's more or less clean, what I'm most interested in is cleaning all the iron parts, I'm going to leave the brass like this without cleaning it.
So I consider the piece cleaned and now it's time to look for springs, make joints, screws, safety pin pulland. What I have doubts about is whether to make the safety pin or leave it as is...

A greeting!!
Hello again... I continue with the painting of the selector. It is a kind of oven enamel that melts at 150º.
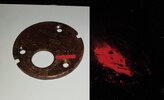
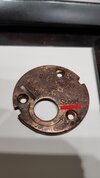
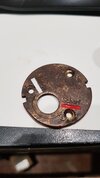
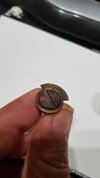
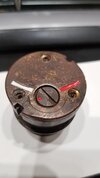
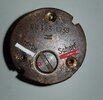
The piece that holds the firing pin, replaced with a new one.
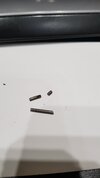
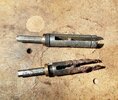
And in the end I decided to turn the safety pin.
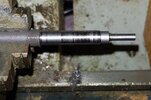
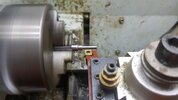
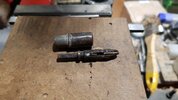
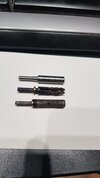
In the photo you can see the original that I had, the original piece that I want to replace and the copy.
The problem is that I don't have a tap to make the thread, I thought it was M4 pitch 0.5 and it is 0.35 so I have to look for a tap.... I only need the selector gasket, the three screws, the safety pin gasket, the safety pin handle and I think that's it.


The piece that holds the firing pin, replaced with a new one.

And in the end I decided to turn the safety pin.


In the photo you can see the original that I had, the original piece that I want to replace and the copy.

The problem is that I don't have a tap to make the thread, I thought it was M4 pitch 0.5 and it is 0.35 so I have to look for a tap.... I only need the selector gasket, the three screws, the safety pin gasket, the safety pin handle and I think that's it.
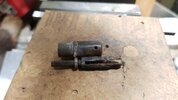
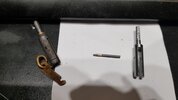
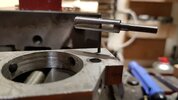
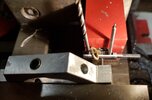
and the last thing is the placement of the stem that holds the brass piece (which pulls it to remove the pin).
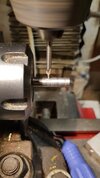
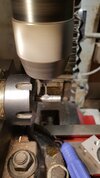
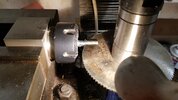
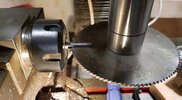
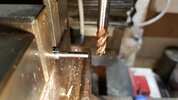
To insert the metal bar, I used the jaw of the milling machine as a "pneumatic/hydraulic press....", the hole was 0.15mm smaller than the bar.
The next thing will be the M4x0.35 thread, I have to get the die to make the thread, I bought it on Aliexpress, I hope it at least lasts to make this piece...
Regards and until next time!
To insert the metal bar, I used the jaw of the milling machine as a "pneumatic/hydraulic press....", the hole was 0.15mm smaller than the bar.


The next thing will be the M4x0.35 thread, I have to get the die to make the thread, I bought it on Aliexpress, I hope it at least lasts to make this piece...
Regards and until next time!
Hello Alpini! basically for two reasons... I don't trust doing it well (I haven't made many threads and they are so small) and ruining the piece, also I would only have to make a pitch of 0.30 not 0.35 since the lathe doesn't give me the option ...I have a small 140x250 lathe that I would like to automate, in that case I could...
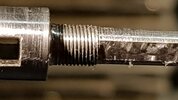
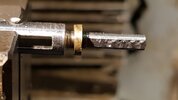
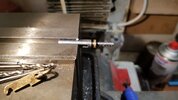
The thread has arrived! Well, it hasn't gone bad... or so I think! I put the photos...
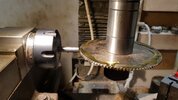
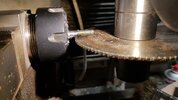
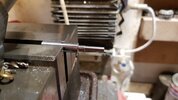
I put it with the drill holder because it is not small for the tool I have for the taps.... it is not the best option but hey... it is what I had
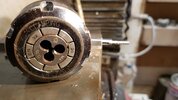
The threading was actually very smooth!
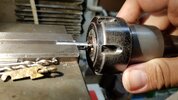
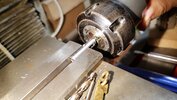
And how the thread looks, I don't know if it will be perfect or not but it works and the nut is not loose, so I consider it good and since it is not for a piece that will be used well... for me it is perfect!
I only have the washer left that I made a few days ago, I didn't realize it and I measured it wrong, so I have to repeat it, what happens is that I made it with plastic and from what I see in the original it looks like some type of cardboard pressed or something similar...
We'll see what I do. One thing, can anyone think of how the piece could be aged so that it is not so striking and integrates better into the appearance of the original piece? Thanks greetings!
I put it with the drill holder because it is not small for the tool I have for the taps.... it is not the best option but hey... it is what I had

The threading was actually very smooth!


And how the thread looks, I don't know if it will be perfect or not but it works and the nut is not loose, so I consider it good and since it is not for a piece that will be used well... for me it is perfect!


I only have the washer left that I made a few days ago, I didn't realize it and I measured it wrong, so I have to repeat it, what happens is that I made it with plastic and from what I see in the original it looks like some type of cardboard pressed or something similar...
We'll see what I do. One thing, can anyone think of how the piece could be aged so that it is not so striking and integrates better into the appearance of the original piece? Thanks greetings!
You can phosphate the part. After the process it will have grey/black color. The original steel parts may have been phosphated too. All you need is a few millilitres H3PO4, some milligramms of MnO2, water and half an hour of your time. If want to try you will find details in the following thread. It's very easy and once done you may use also for other things which require basic rust protection.
Fermangans Process?
Reading chapters on British grenades in the excellent book or should i say bible "Grenades by Rick Landers researched by Norman Bonney and Gary Oakley, i came across a rustproofing process called Fermangans Process, an alternative to painting or as in the case of the No20 rifle grenade an...
www.bocn.co.uk
Hello Alpini! thanks for the contribution! Then I'll go to the chemical supply store to see if they sell it freely. The piece may be a little rough, right? The color may be very gray, but if you try it, I suppose it could darken a little without turning black. At first I had planned to give it Perma Blue, which is for cold bluing... We'll see what they tell me at the supply store. Thanks again for the information! All the best!
Yes, cold bluing would be also interesting but I don't have experience with it.
And also yes, the phosphating gives a slightly rough surface of very small crystals which reflect the light. But usually phosphated objects are covered with oil which is then dryed of with cloth. It feels not longer oily then but the very thin layer of oil in the porous surface of the phosphate layer converts the greyish color to a nearly black color.
You can also play around with the duration keeping the object in the bath. Leaving it in the baths only a short time looks also nice with a less rough surface.
To get some MnO2 you can open an old (empty) Alkaline battery. At least in Germany H3Po4 is easy to get and pretty save to handle (much saver than HCL for example) and it also works very well for cleaning brass parts.
Last edited:
Thats a lot of money. The MnO2 I bought for about 5 € and only a very small amount is needed. The H3PO4 became expensive shortly before Ukraine war started when China stopped exporting phosphate as they need it for fertilizer for their own agricultural industry. But you also need only a very small amount. I use 85% H3PO4 and bought a "used" 5l canister (4.5 l still present) for 41 €.
After you have mixed the incredients together and heated it up the water gets black colored. Then wait until it becomes clear again. Then it's best for usage. I keep the liquid for future use in a bottle and even the sediments on ground solves after some weeks. You may also experimenting by slightly sanding the finished part.
This fuze part I also sanded a bit after phosphating to age it a bit:
10 cm vz.21n length of cap needed
Hello, is there anyone who can meassure the exact length of the steel cap of the Czechoslovak 10 cm vz.21n fuze or is there a drawing with dimensions available? And by the way what does the "n" in the designation mean?
www.bocn.co.uk
Last edited:
Hello Alpini, they sell me the material in 1L 85% and 1Kg at 90-95% purity respectively.... Maybe the one you used was 70 to 80% (it is used in paint from what I have seen) and that Yes, it is much cheaper. Looking at the images you indicate, it looks similar to cold blueing.

